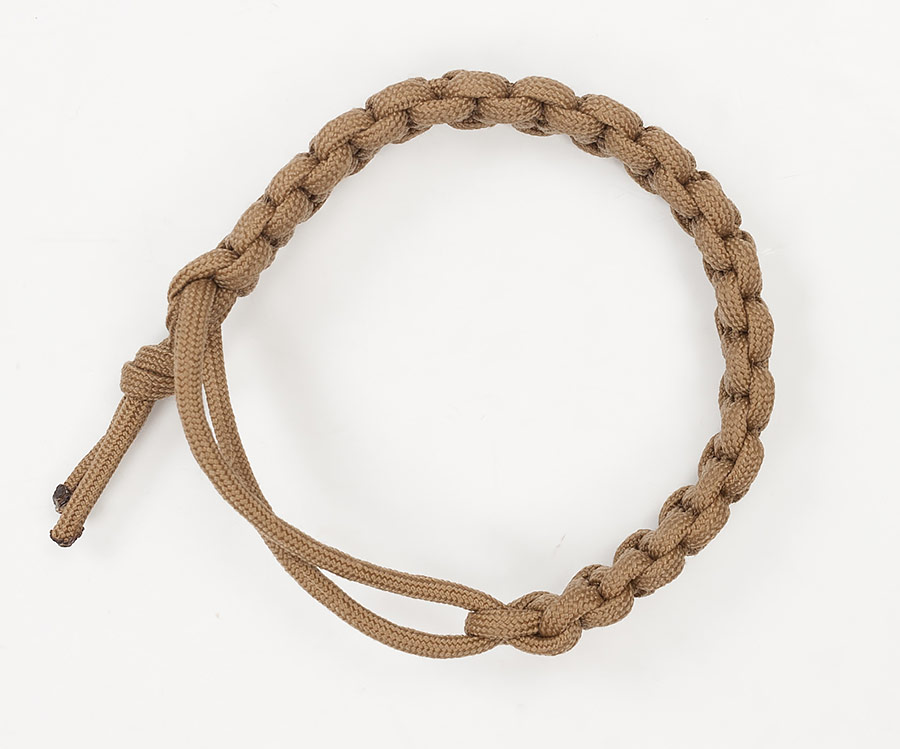
Paracord bracelet DIY instructions
Paracord bracelet DIY instructions
Be ready for the situation where you might suddenly need a short length of string, line, or cord - for example, pitching a tent or to replace a snapped shoelace - by wearing a paracord bracelet. By following these instructions you will get a paracord bracelet, so you'll have a 3-meter / 10-foot piece of paracord always with you. No extra parts such as buckles are necessary.
- 3 meters of paracord
- Before proceeding, burn the ends of the cord or they will start to fray
- Scissors
- Lighter or matches
- Tape measure
- A piece of cord to secure that starting point
1. Measure the paracord
Measure 3 meters of paracord and burn the ends.
2. Measure your wrist
Find the middle of the cord and fold it so you have equally long cords running parallel. Measure the circumference of your wrist by turning the folded cord around your wrist. Mark the spot B where the fold meets the cords.
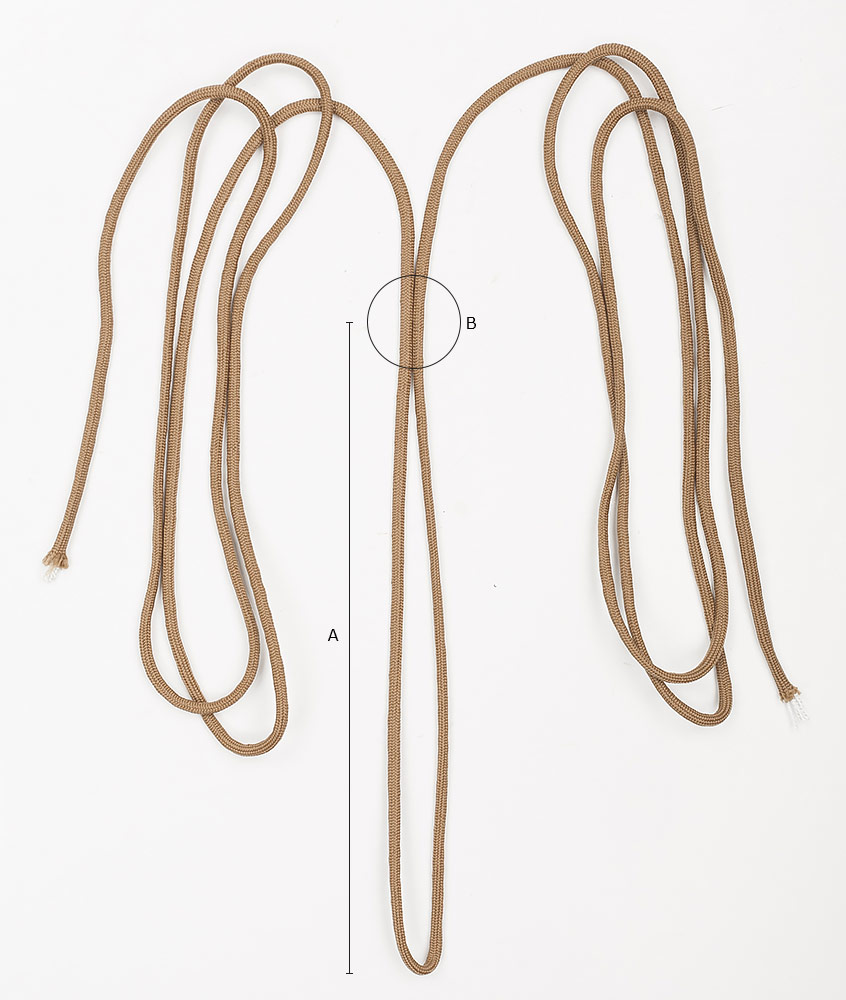
Pictured you see the circumference of your wrist marked by A. The B mark tells you where to begin. We recommend to tie a string to mark this spot and make it easier for keep the lenght of the bracelet while you are binding the knots and also keep the loops wide enough for you to be able to finish the bracelet more easily.
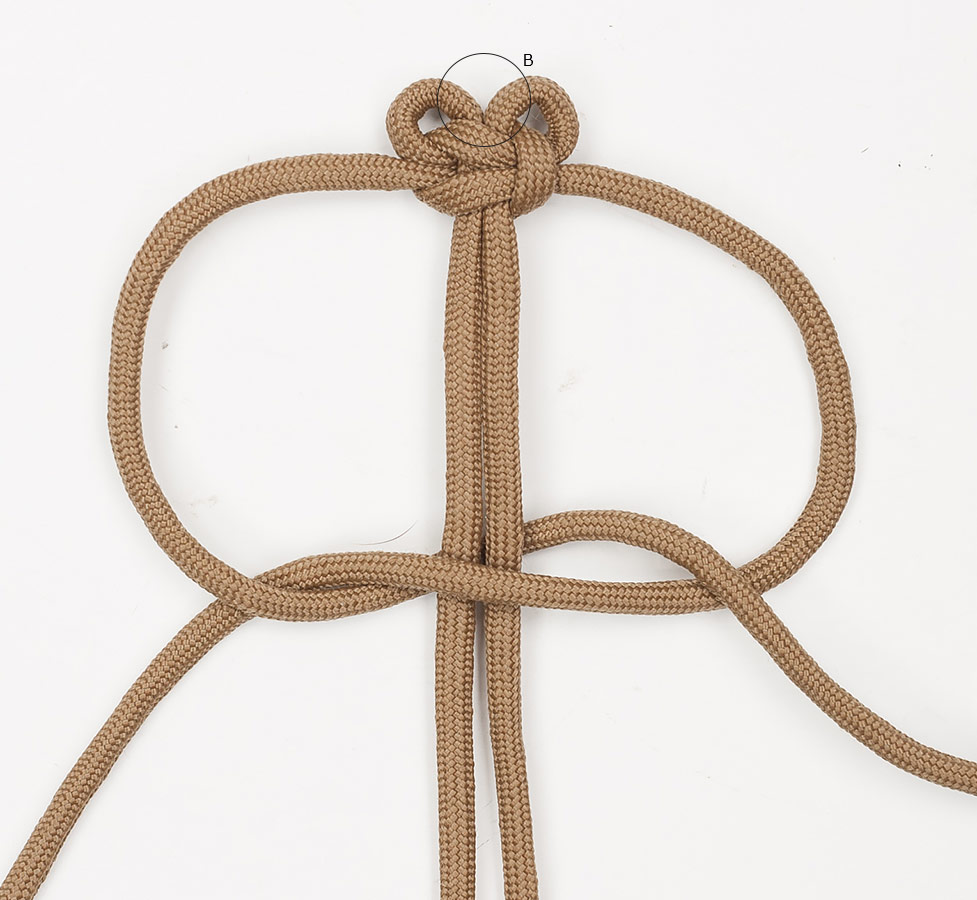
3. First knot
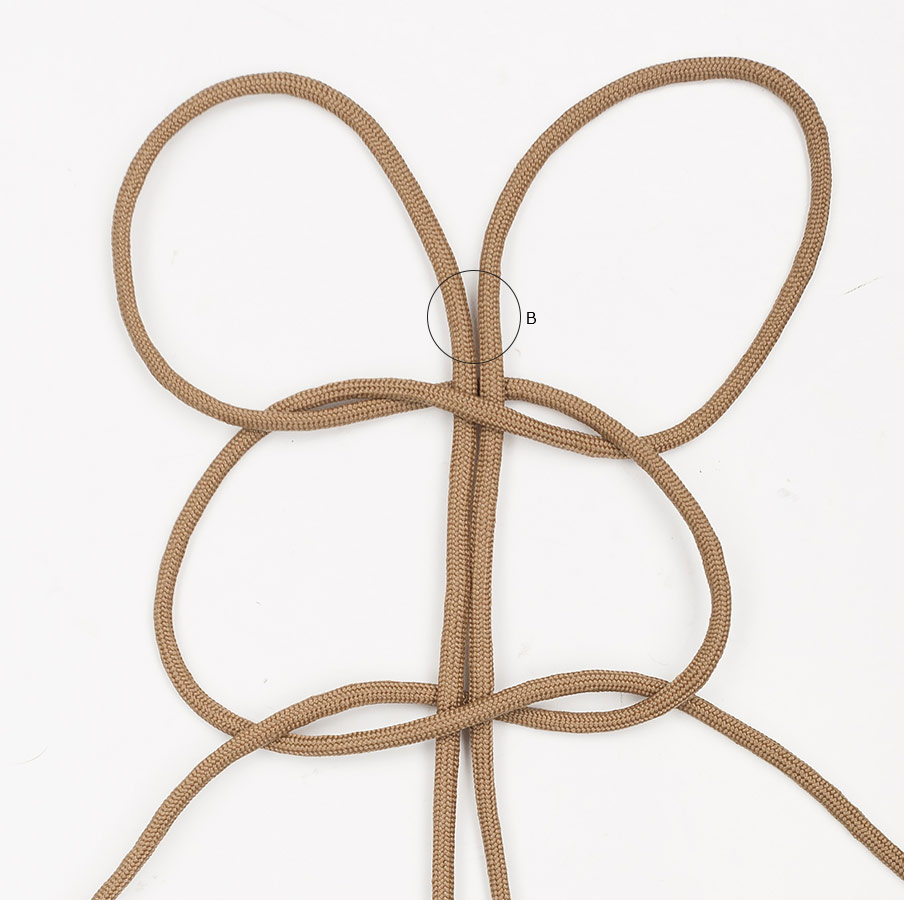
Make the first knot as pictured. We recommend using a piece of paracord to mark B spot in order for the loops left here to be wide enough for you to be able to finish the bracelet more easily.
4. Binding the knots
If everything goes as it should, you should have a knot as pictured. Please note that the knot should form at the B mark in order for your bracelet's circumference to be correct.
From here on in, it gets repetitive.
Tighten the knots. Also note that you must start each each knot from the opposite side as the last knot.
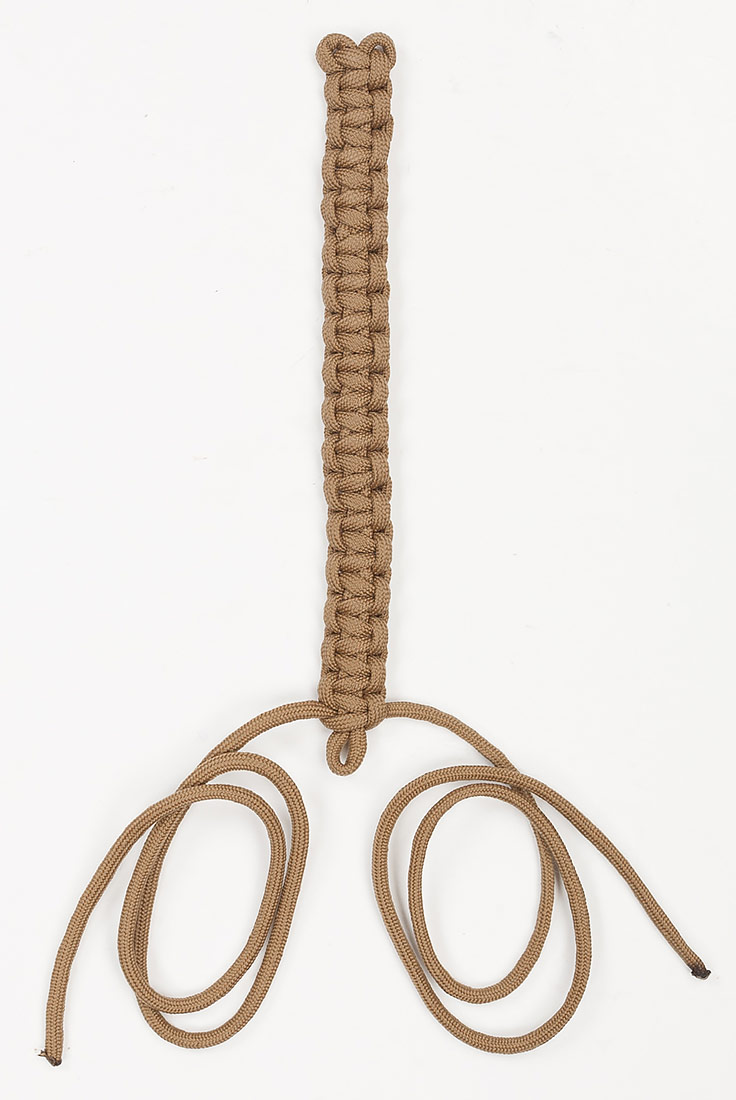
5. Finishing up
At the very end bring both cords through the loop, one from each side.
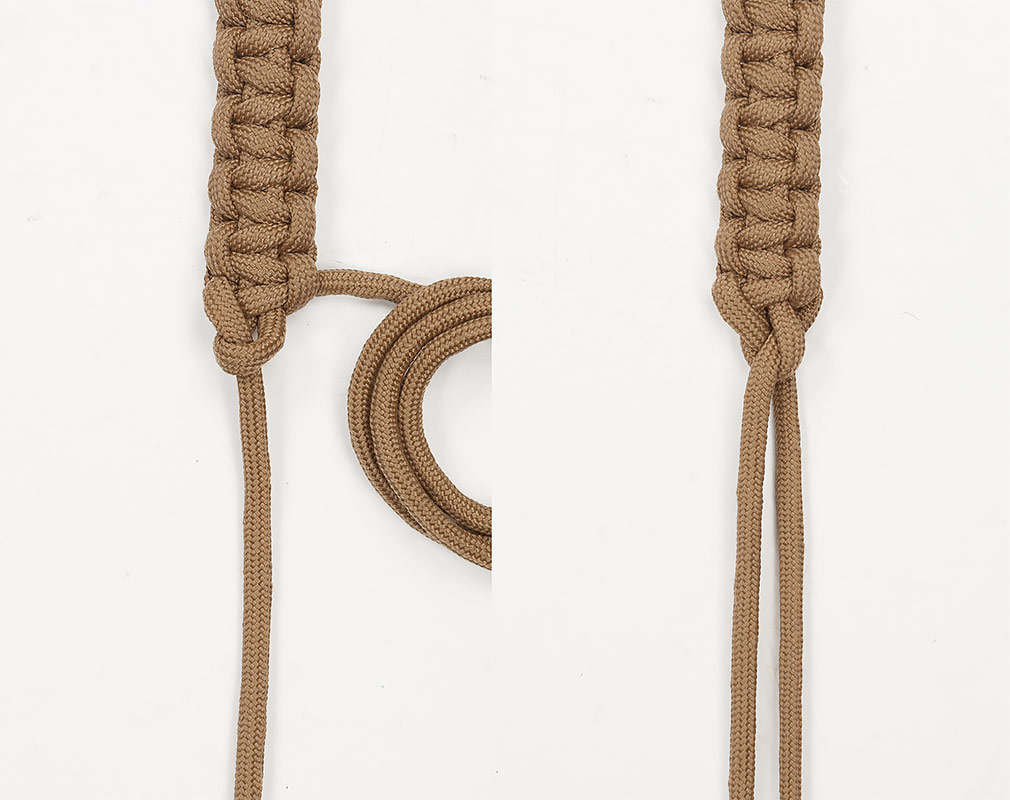
Thread both of the cords through both loops, one from the left, one from the right. If they are too tight, use a pen to widen the loops. The idea is to have enought friction for these cords so your bracelet will not become loose on your wrist.
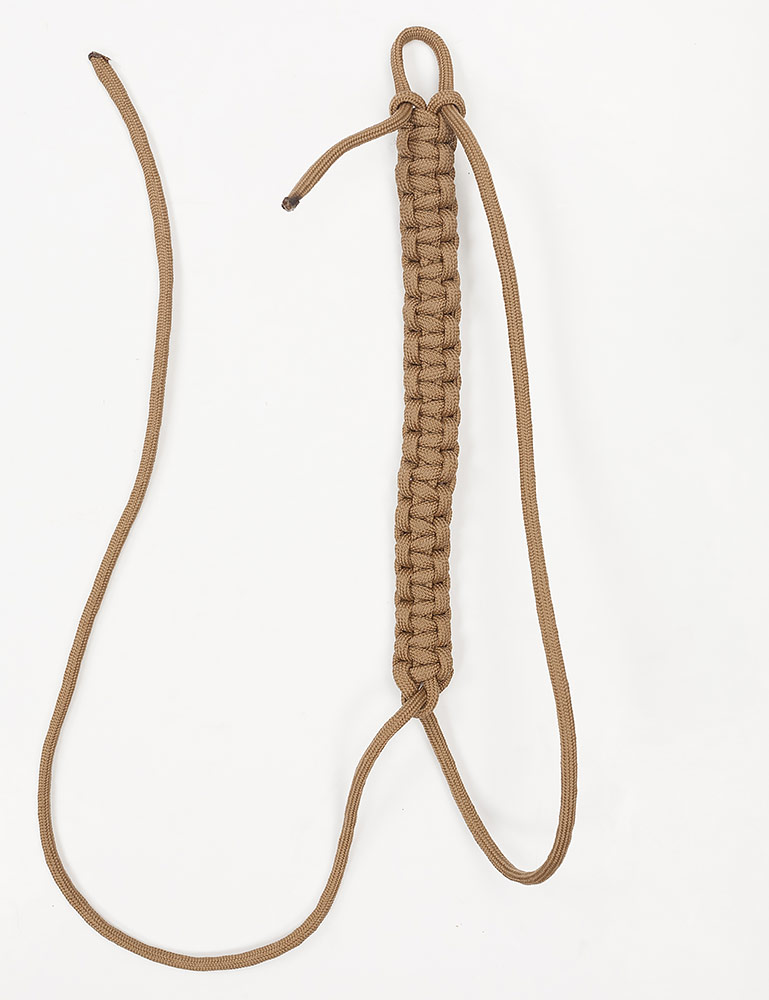
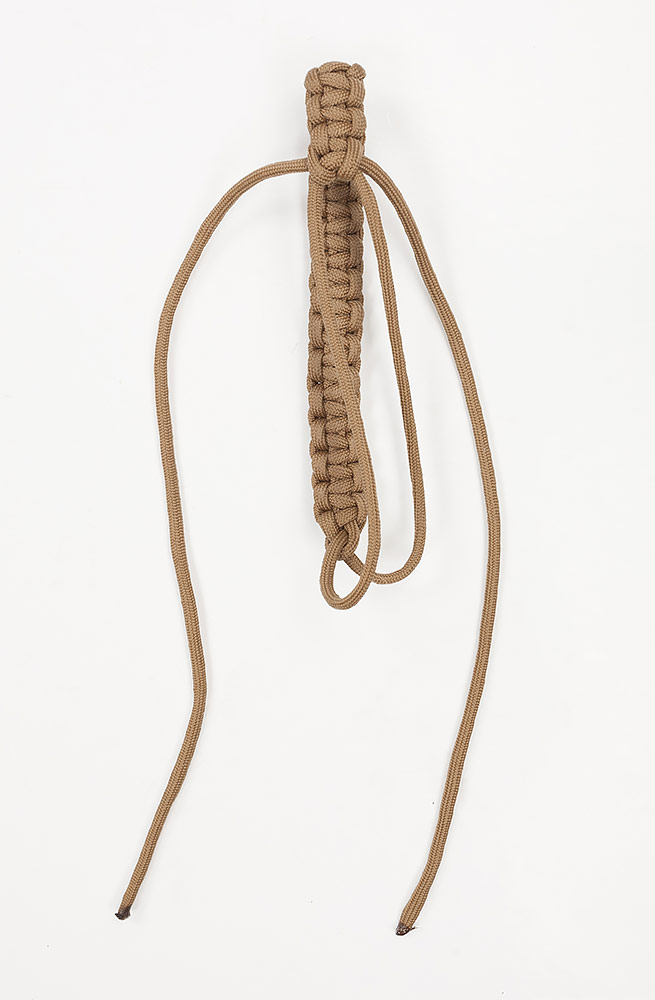
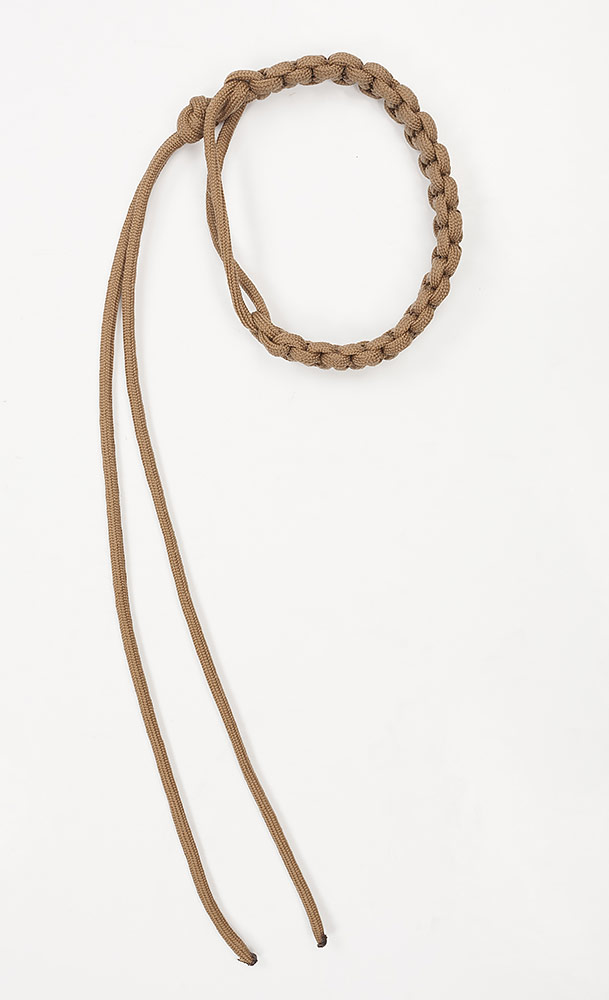
Tie the knot and cut loose cord. Note that there must be some extra so you are able to loosen the bracelet enough to slip it around you hand.
The paracord bracelet is complete!
