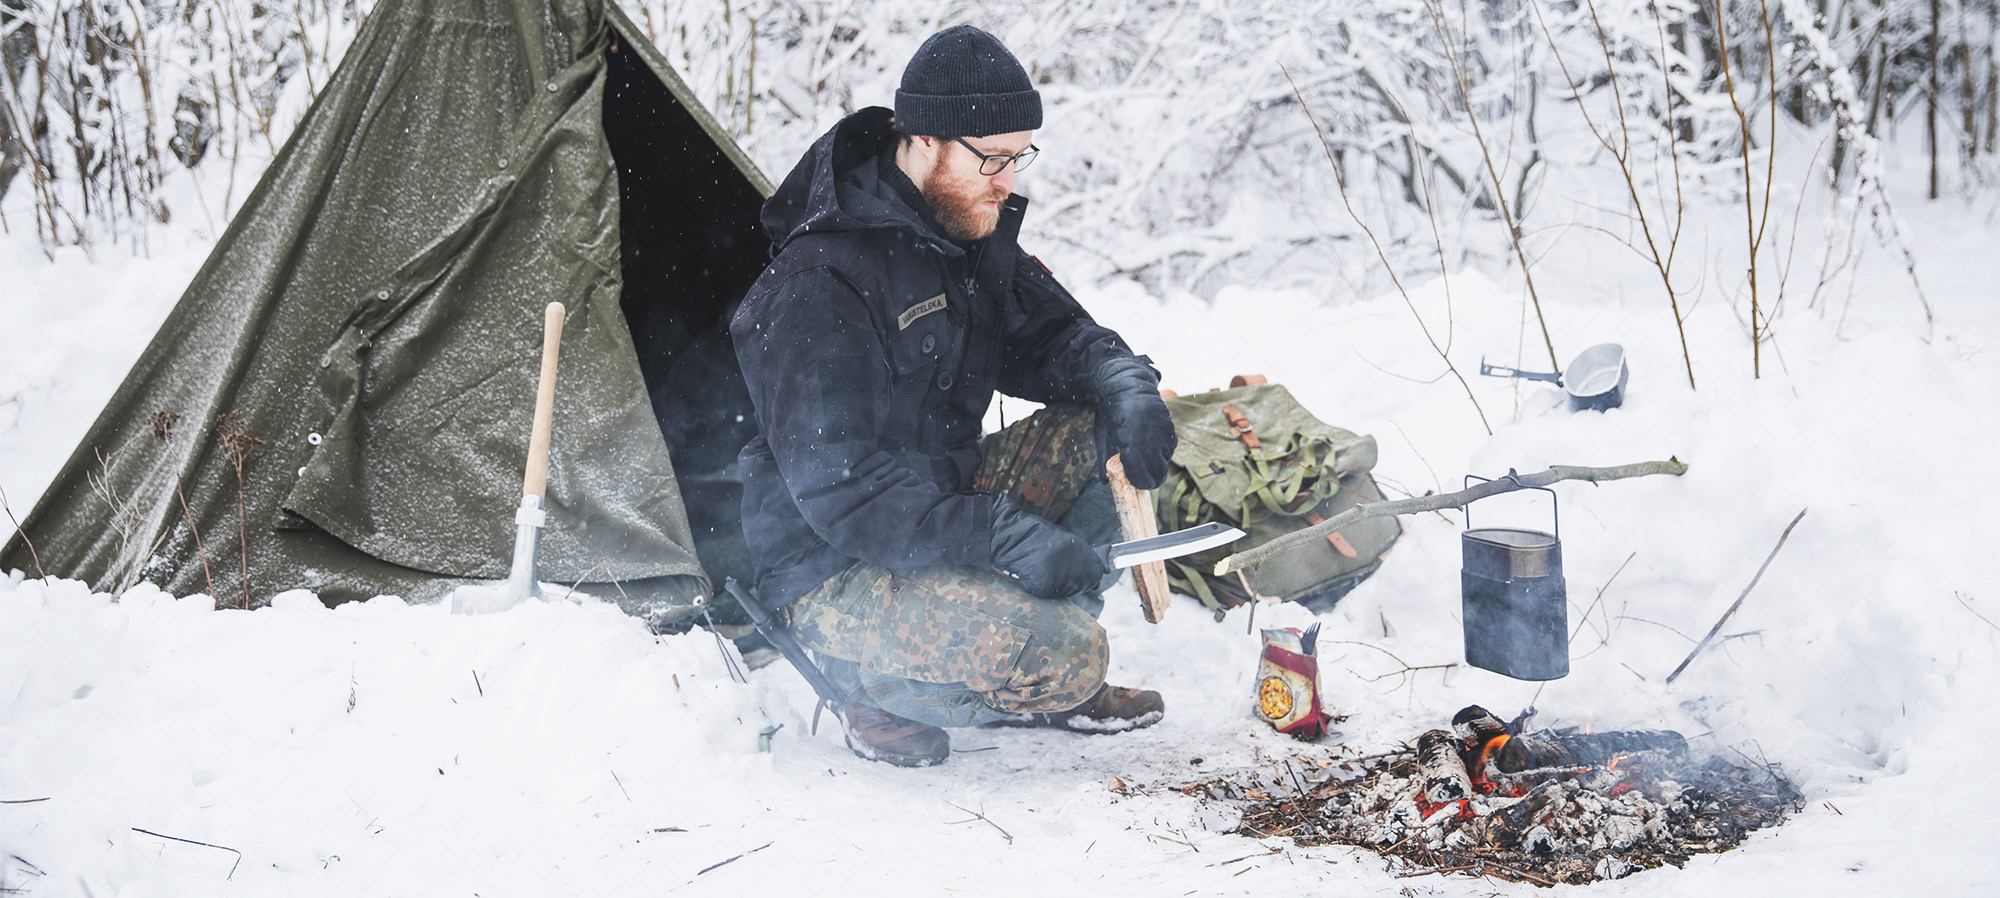
Winter hiking tips
Winter hiking tips
Especially here in the north, winter takes up most of the year, which means snow and cold are a big part of the life outdoors. This is why we asked our best bushcraft warriors to teach the rest of us about the secrets of winter camping! We gained such valuable knowledge that we wanted to share it with you as well. The boot camp was divided into three stages: camping and sleeping, clothing, and nutrition. So, let’s look at what we learned and what we should all take into consideration on our wintry outdoor excursions.
Planning for a winter hike
Most successful hiking trips start with careful planning. Find out what you will be facing in terms of the weather, terrain, and other conditions. Count in the number of hikers and the length of the trip. Keep in mind that snow and wind can pose extra challenges for the trip, and conditions may change quickly. After you have a good grasp of these, you can start planning what kind of shelter to bring, how much food you need, and what clothes to pack. Very simply, the longer the trip the more stuff you need. Let’s first take a look at what to take into consideration in terms of choosing and setting up a shelter and sleeping outdoors in the cold.
Camping in winter
In winter, you can spend the night in a variety of shelters ranging from a snow cave to a wilderness hut. In addition to choosing the right shelter, pay attention to the camping site and how you situate your shelter in relation to the current conditions and your surroundings.
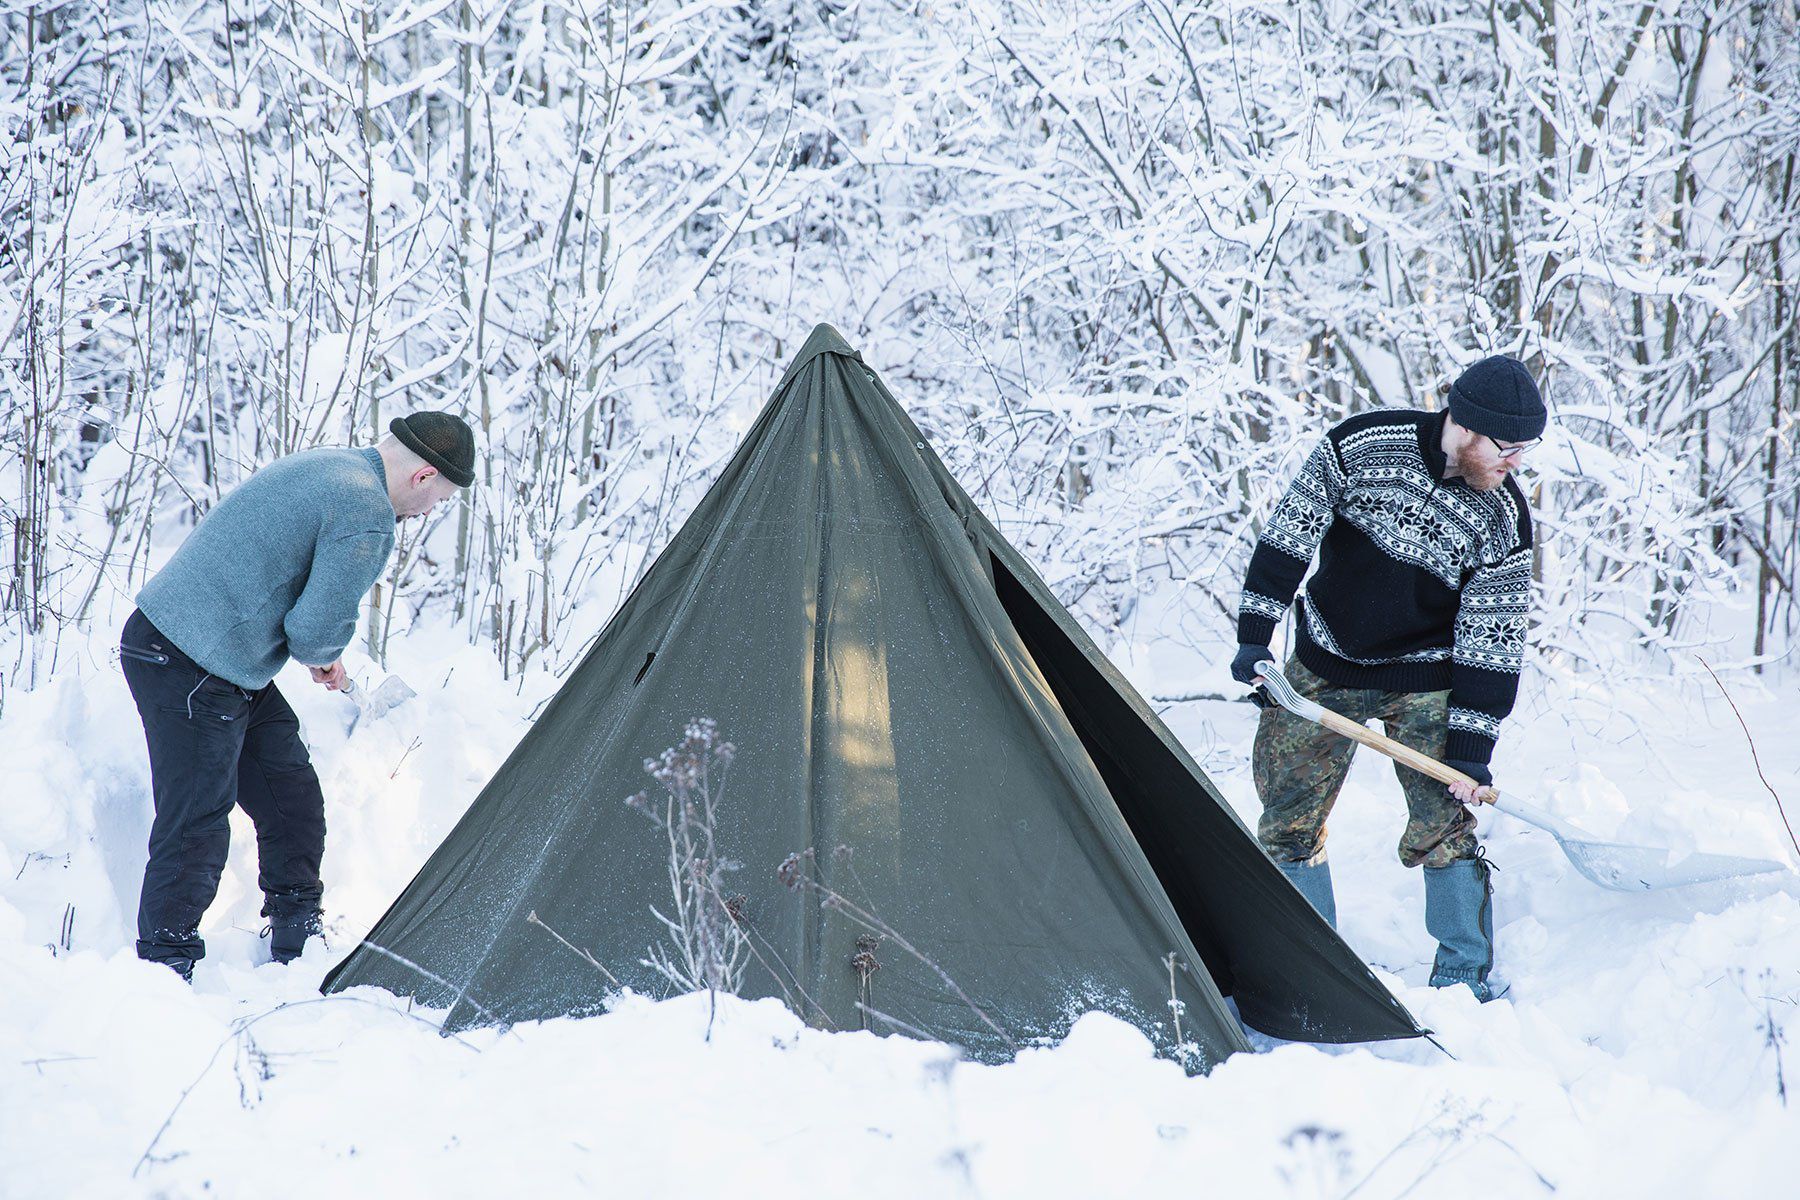
Possible camping sites should be taken into consideration already when planning the trip. Choose your route so that you will be able to put your shelter up in a good spot. Aim at finding a safe spot that offers shelter against the weather. For example, a forest edge is proper good. The trees provide shelter from wind and allow you to attach your shelter to them if needed. However, check that the tree branches right above your shelter are not heavy with snow. You can also set up your camp at the side of a hill on a suitable low part, just make sure you’re not at the lowest point to avoid getting buried in snow or getting wet by meltwater. Camping on ice is not encouraged.
Consider these when choosing a camping site
- Avalanche risk
- Wind direction and snow
- Snow on the trees
- Meltwater
A tent is a popular and functional shelter in winter. When setting up your tent, make sure you place the door away from the wind, and in case you have a ridge tent, orient it along with the wind. In winter you often set your tent up on snow. If there is a lot of it, you can dig a pit for your tent to protect it and you from the wind. If there is less snow, you can build a wall around your tent. Make sure to drive the stakes into the ground. If needed you can attach the tent to trees as well. Pile some snow on top of the edges of your tent.
In case you are looking to stay especially warm and comfy, you can set up a tent stove. If you do, make sure to pay extra attention to fire safety. Only keep the firewood you need during the night inside the tent. Keep water nearby to put out any flames that might escape the stove. Place sleeping mats and bags far enough away from the stove. And remember to always keep an eye on the fire – even at night – so do bring a friend or a few along and take shifts guarding the flames.
Setting up a tent in the winter
- Dig a snow pit for the tent or build a wall for shelter
- Drive the stakes into the ground or attach ropes to trees
- Orient the entrance away from the wind
- Set up a ridge tent in line with the wind
- If using a tent stove, remember fire safety
You don’t necessarily need to carry a tent, even in winter. You can build a fine shelter from a tarp as well. Just set it at a right angle, build a fire in front and a snow wall as high as the flames on the other side. This will reflect the heat back to your shelter. A tarp shelter is going to give you less protection from the wind, but by placing the opening away from the wind and piling snow around the edges, you can make your night more comfortable. A 4x4 (13’x13’) tarp makes large enough a shelter for two campers and their stuff.
What kind of a sleeping pad and bag for winter camping?
The ground is cold in winter, so you need to insulate your sleeping area. You can use about 15 to 20 centimeters (6 to 8 inches) of spruce branches or a space blanket to keep the cold out. Place your sleeping mat on top of this. Look at the R-values of the sleeping mats and use more than one if necessary.
Our tests revealed that the Therm-A-Rest NeoAir XTherm Sleeping Pad keeps the cold away from you very well. The Savotta FDF Sleeping Pad together with a thin inflatable mat was also a good combo.
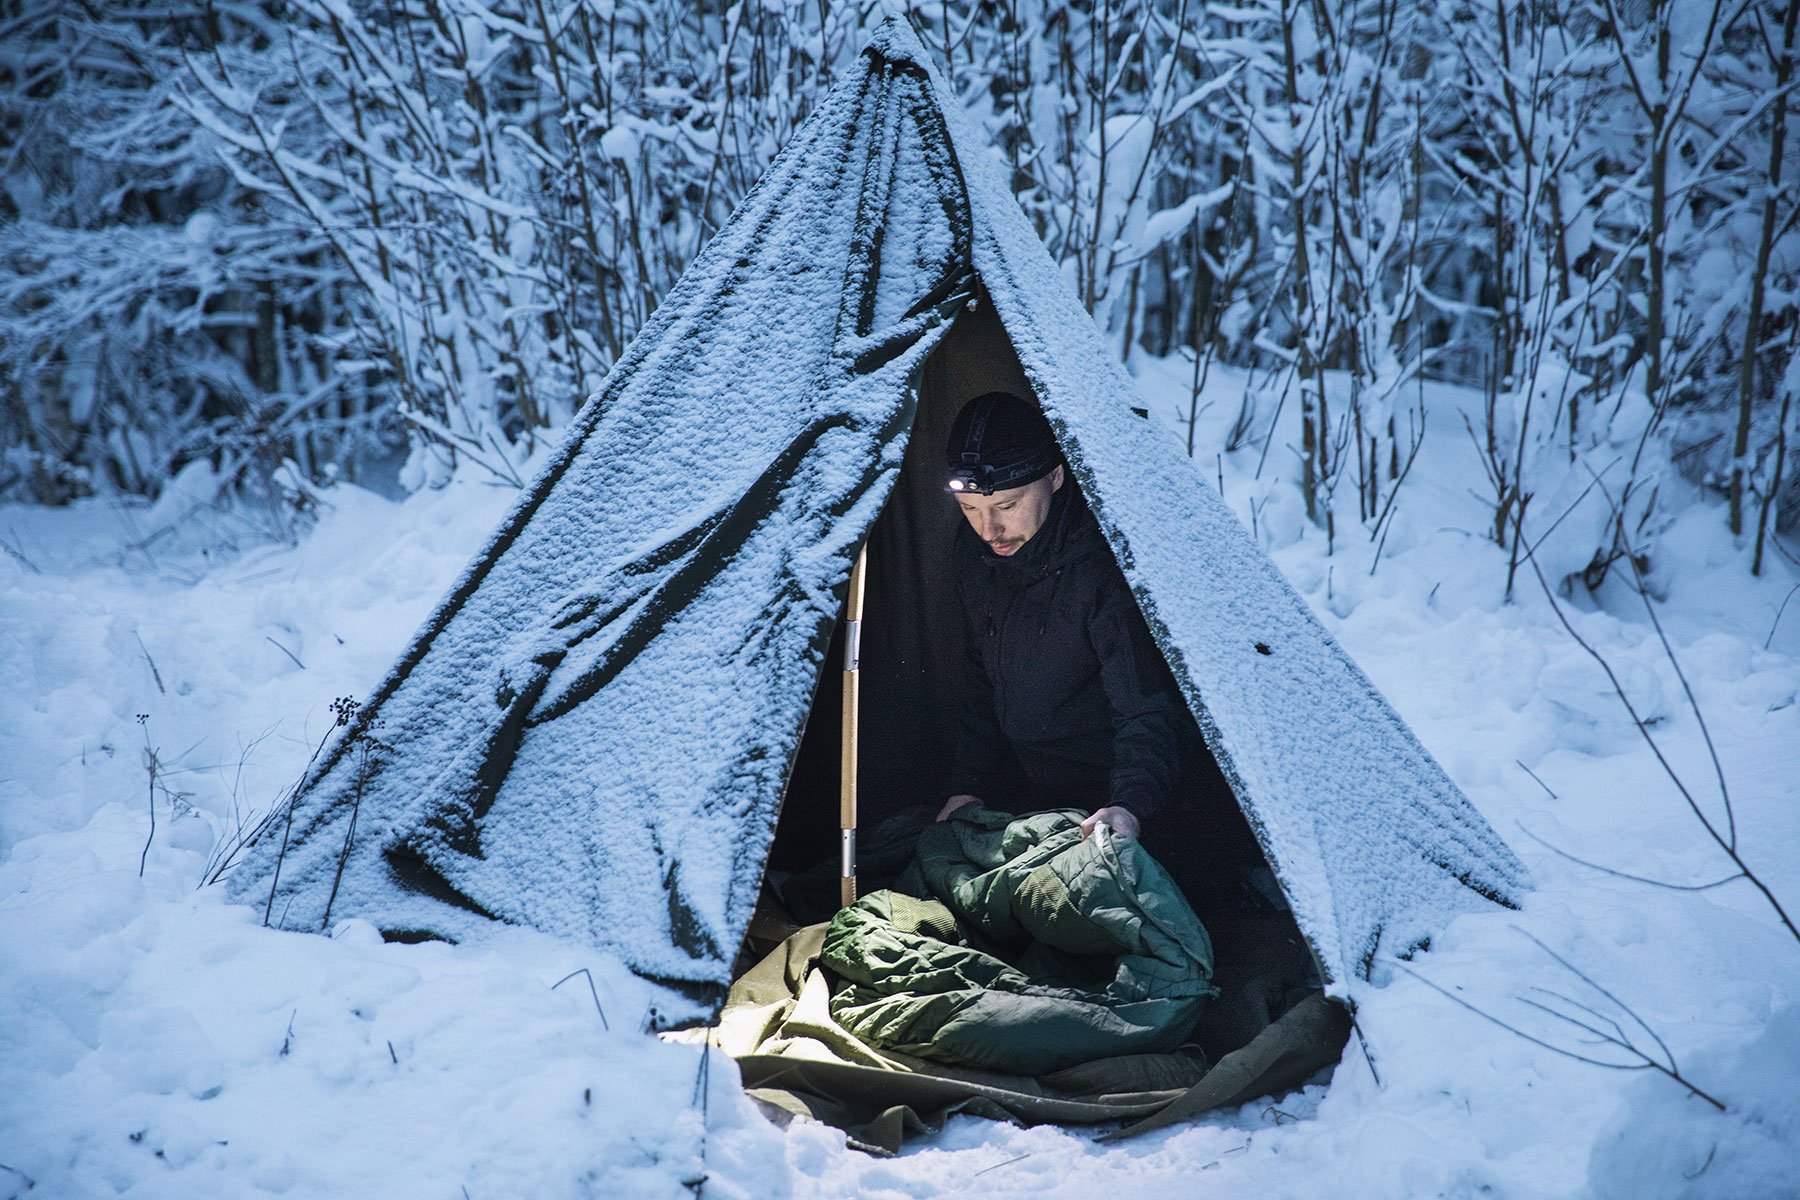
The final touch is a proper sleeping bag. In freezing temperatures, Carinthia down sleeping bag or Defence 6 work best, but you can use a lighter sleeping bag if you wear some thermal layers underneath. Remember to unpack and fluff out your sleeping bag well before hitting the sack, so that the down or fibers get some air in between them. The size of the sleeping bag is also important; if it's too big, it won't keep you warm equally well.
The keys to a good night sleep
- Spread some spruce branches and/or a space space blanket on the ground
- Make sure you have a good insulating sleeping mat, perhaps two
- Use a warm sleeping bag that is the right size for you
- Shake out the sleeping bag well before bedtime
A hammock is also a viable shelter choice in winter. What you need to notice is that you place an underblanket outside the hammock to provide insulation. A sleeping bag alone won’t keep you warm underneath. Of course, you can use another sleeping bag instead of the underblanket. An additional thin sleeping mat can be added inside the hammock.
Dress in layers
Make sure you wear the right clothes for the weather; you don’t want to freeze but you also don't want to sweat excessively. When you are on the move, you create heat and with heat comes sweat, and when you stop you may freeze. However, with proper clothing, you can prevent and reduce sweating – and freezing. As a rule of thumb, you should feel a bit cold for the first 15-20 minutes, which means you’re wearing the right clothes and the right amount of them.
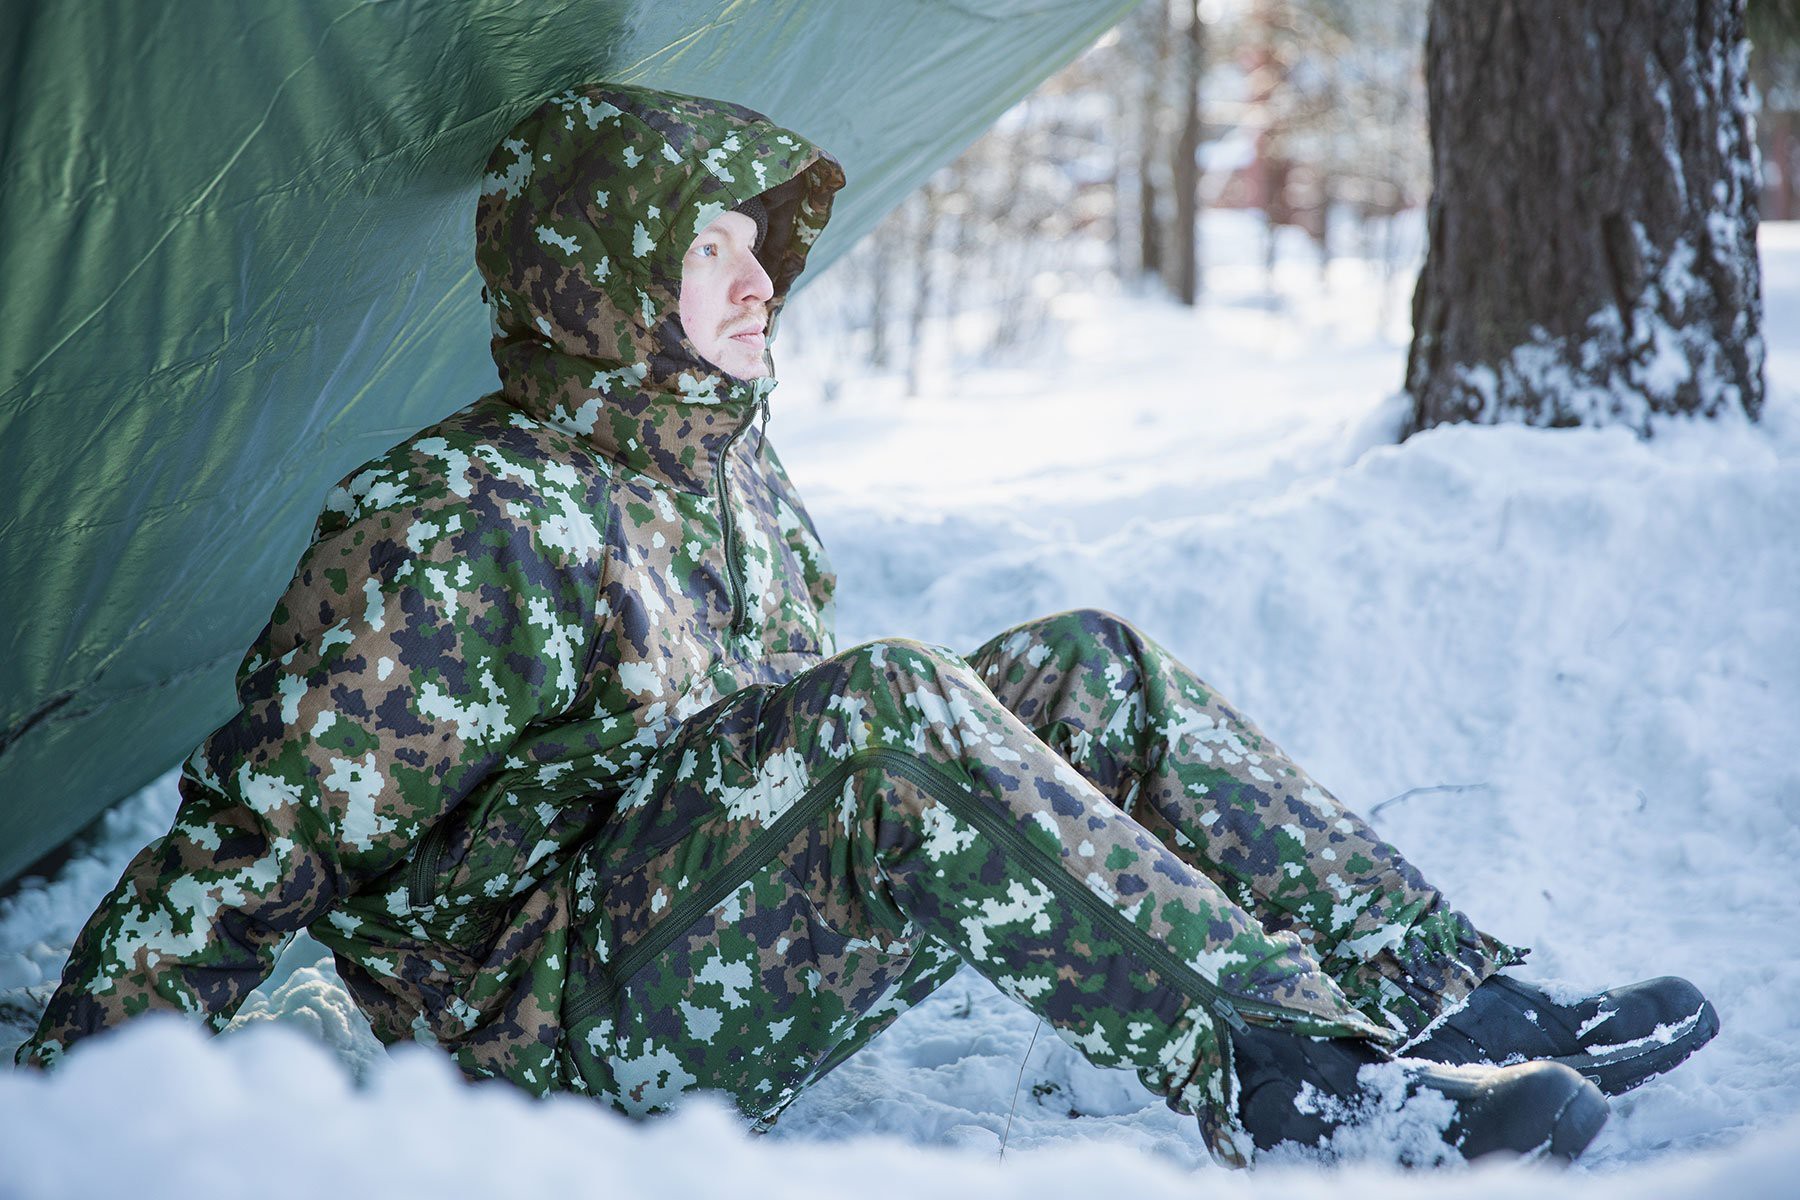
The key to dressing for winter is layering. The right layers in the right place will make sure excess heat and moisture are transferred away from the skin and protect you from rain and wind. You can add and remove layers as needed.
Pick undergarments that are made from a moisture-wicking material - merino wool is the best and technical clothing comes next. Avoid cotton because it is cold and nasty when wet and often starts to emit some gnarly smells.
The next layers provide warmth and insulation. You can add from none up to five layers depending on the weather and your preferences. Wool works well, but fleece or other synthetic materials are also an option. In windy weather, you may want to add a wind stopper layer as well.
The outer layer provides shelter against the weather, i.e. wind and rain. As the temperature approaches 0 °C (32 °F) the air is humid and the ground or snow wet. Your clothes will get wet easily but will hardly dry at all on their own. It is advisable to wear at least water-resistant clothing at this temperature. You might want to opt for something waterproof such as a hardshell jacket. You are likely to sweat easily as well, but your body will also cool down fast thanks to the low temperature and humidity.
When the temperature drops below zero the air becomes dry and cold. The ground is frozen and snowy. At this point, waterproof clothing is no longer required and should in fact be avoided and replaced with breathable clothing. When on the move, your body will generate heat but when you stop, remember to put on an insulating layer of clothing to keep warm. Some good options for the top layer are luhkas , blanket shirts, as well as Woolshell jacket and Woolshell pants .
Temperature tells you how to dress
- At 0–5 °C (32-41°F) wear water-resistant or watertight clothes
- Below 0 °C wear warm but breathable clothes
- Pack insulating clothes for breaks
Socks are not to be forgotten when talking about winter hiking. Toes and other extremities are the first parts of our body to suffer from frostbite. Therefore, pick socks that are warm enough (and shoes that are not too tight). Our recommendation is again merino wool and double socks. A good combo is for example a merino sock first and a boot sock on top of it.
Winter hiking food
Walking around in the woods makes everything taste better! On short trips, you can easily get away with just a sandwich and some hot chocolate, but for longer hikes, it's important to bring proper nutrition.
Make sure to pack enough food, especially during colder seasons, as your body needs energy just to keep you warm. The number of calories needed varies a lot depending on the person and their level of activity, but during a proper hike, your energy consumption may easily climb up to 3,000 to 5,000 kcal a day. With ready-made meals, it’s easy to count the calories by just looking at the information on the package. Hell, some outdoor meal brands even provide ready combos that include all the meals for 1, 3, or up to 7 days. How convenient!
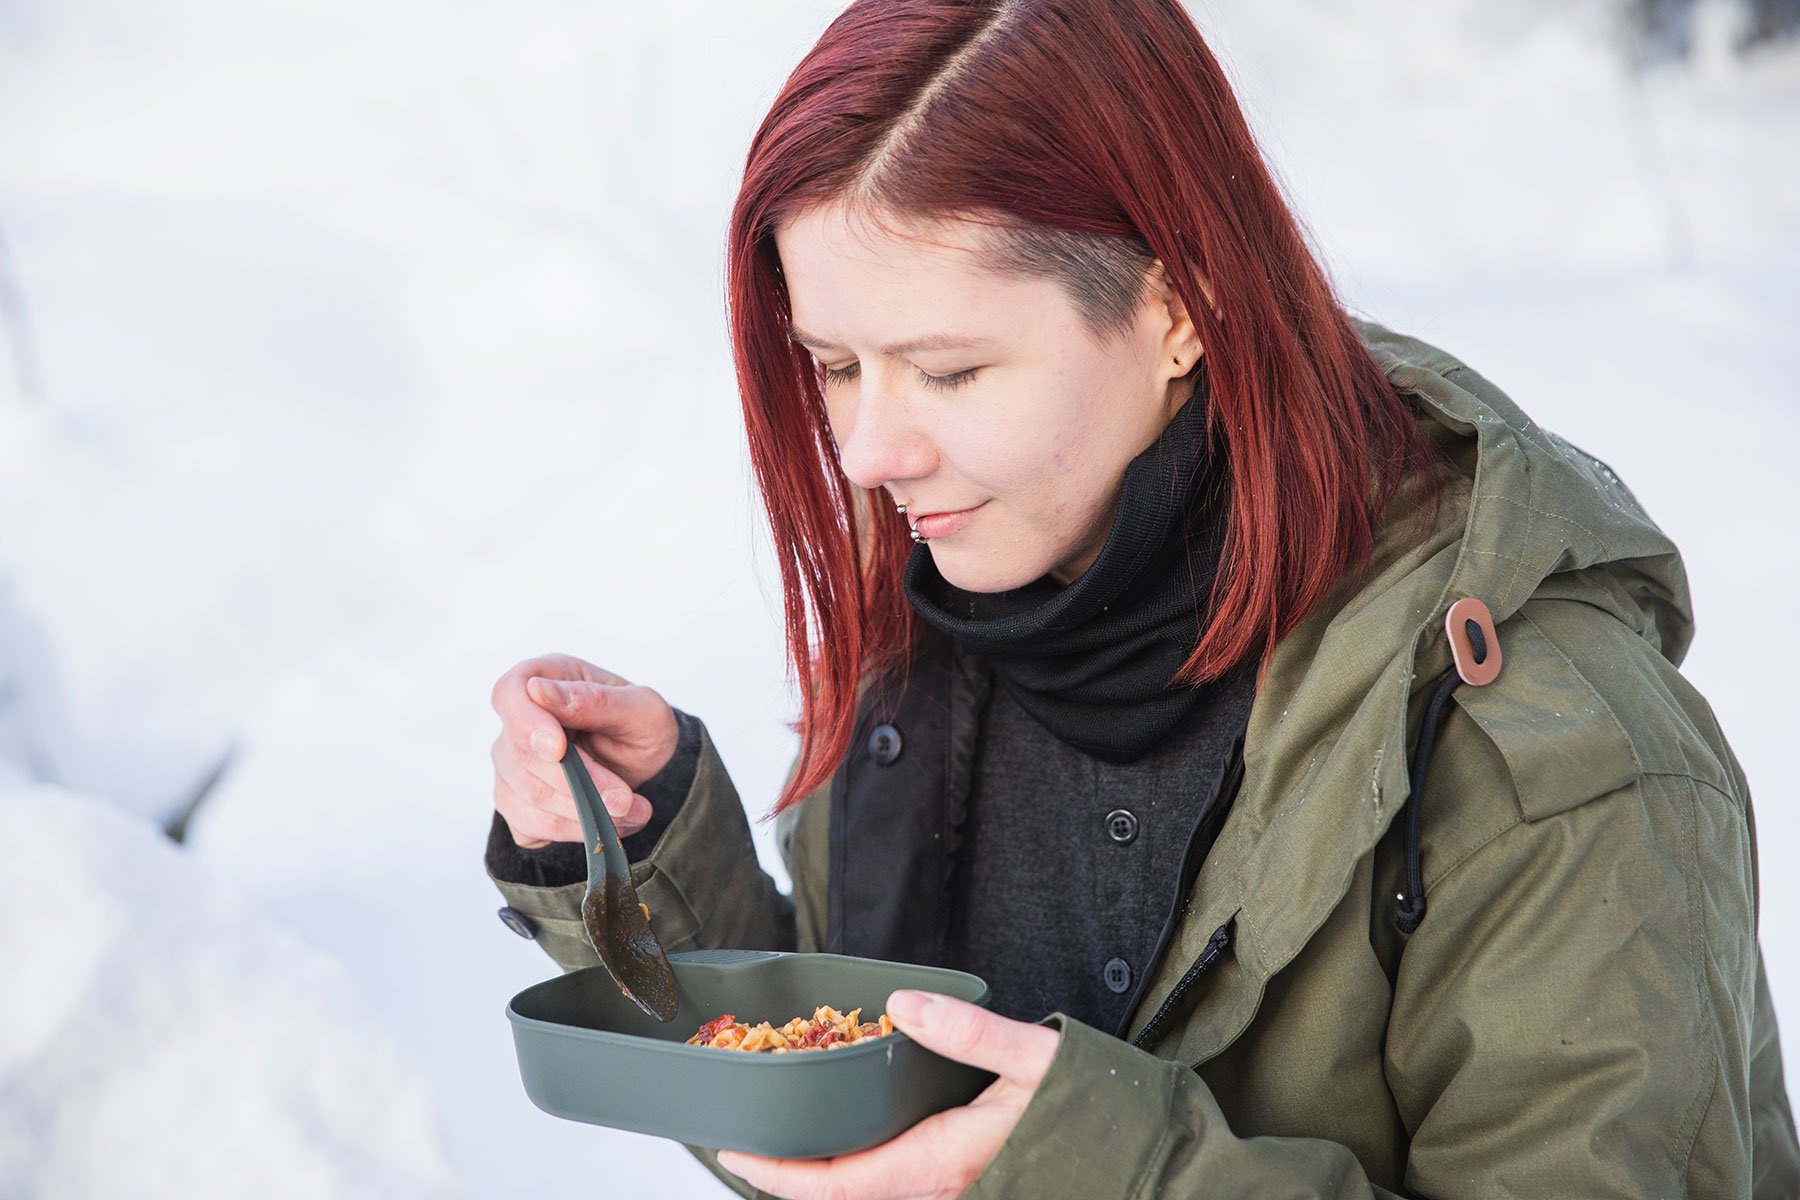
In terms of daily meals, have at least one warm meal, preferably two, each day. In addition, enjoy a warm breakfast (porridge is a solid choice) each morning and pack some snacks that can be enjoyed cold. Try eating a protein-rich meal in the evening to give your body a chance to get the full benefits from the nutrition. The meal will also help keep you warm during the night. Throughout the day aim at eating something every two hours to keep your blood sugar levels even and avoid becoming hangry.
For the nutrients to be absorbed from the food, you need to drink fluids. In winter you may not feel that thirsty but still, you need to hydrate. A good rule of thumb is a few sips every ten minutes. Keep your bottle close to your body so that the temperature of the fluid is as close to body temperature as possible. In a worst-case scenario drinking too cold water will make you puke your meal out. Especially if you sweat a lot, add some salt and sugar to your water. Sports drink powders will do the same – and perhaps taste a bit better.
Backpacking food and preparation
What to eat and how to cook it is up to you. Choose from a variety of ready-made meals, dehydrate your own, or cook a stew from scratch by the fire. The level of cooking mainly depends on how much gear you want to carry and how much time you want to spend on cooking.
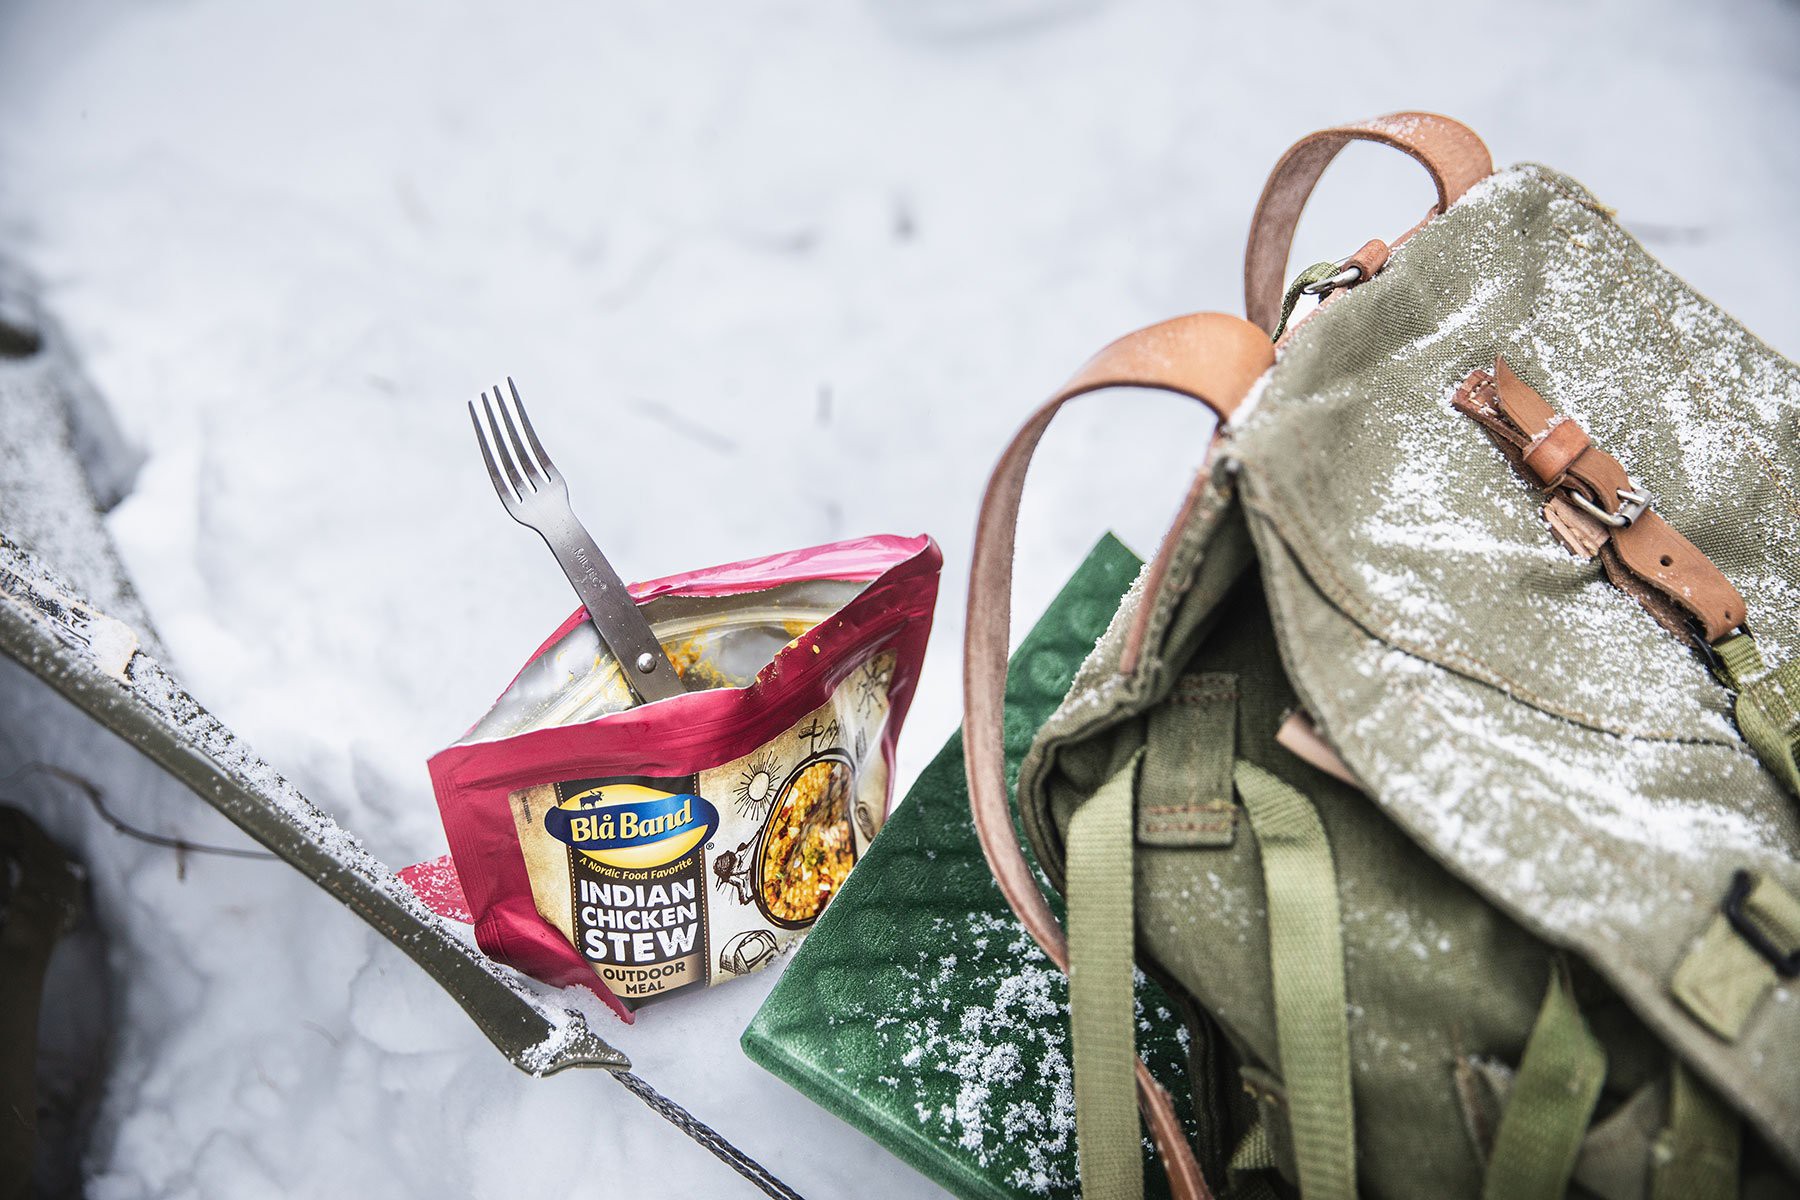
Backpacking foods can be roughly divided into two categories: wet foods and dry foods. As the names suggest, dry foods have been dehydrated and thus require adding some liquids before eating them. Wet foods have water and do not necessarily require additional water. Especially dry foods are easy to carry thanks to their light weight.
Ready-made meals are also easy and quick to cook, but the taste is not always as good as your grandma's cooking. There are some pretty good options on the market though. From the Tactical Foodpack meals we tried out, at least Buckwheat & Turkey as well as Mexican Lentil Stew tasted quite decent. Dried fruit, nuts, and different protein bars are well suited as snacks.
Make your own backpacking food: Minced meat soup
- Fry minced meat and chop some vegetables (potatoes, carrot, onions)
- Dry all the ingredients in a food dehydrator or in the oven
- Seal the ingredients in vacuum in portions
- Pack seasoning in minigrip bags
- Prepare the food by adding the ingredients into a food thermos
- Add warm water
- Let stew for an hour and enjoy!
You can prepare your food on an open fire but do pack a gas-burning camping stove or a wood stove as well. Depending on the food, your preferences, and the circumstances, you can prepare your food by adding water into the bag or using a mess kit or a pot to cook your food in. When using a camping stove, remember to place it on an even, sturdy surface. If you place it in snow you will most likely end up scraping your food off the snow. The gas needs to be suitable for 4-season use, otherwise, it will not work in cold temperatures. If you’re using a wood stove, pack some fire starter cubes.