Product images gallery


Reptilia AUS Mount, 30 mm
- Out of stock – 90% of orders are shipped during the next business day. – Place an order before the product is out of stock. – Subscribe to a Back in stock notification.
Technical details and instructions
Description
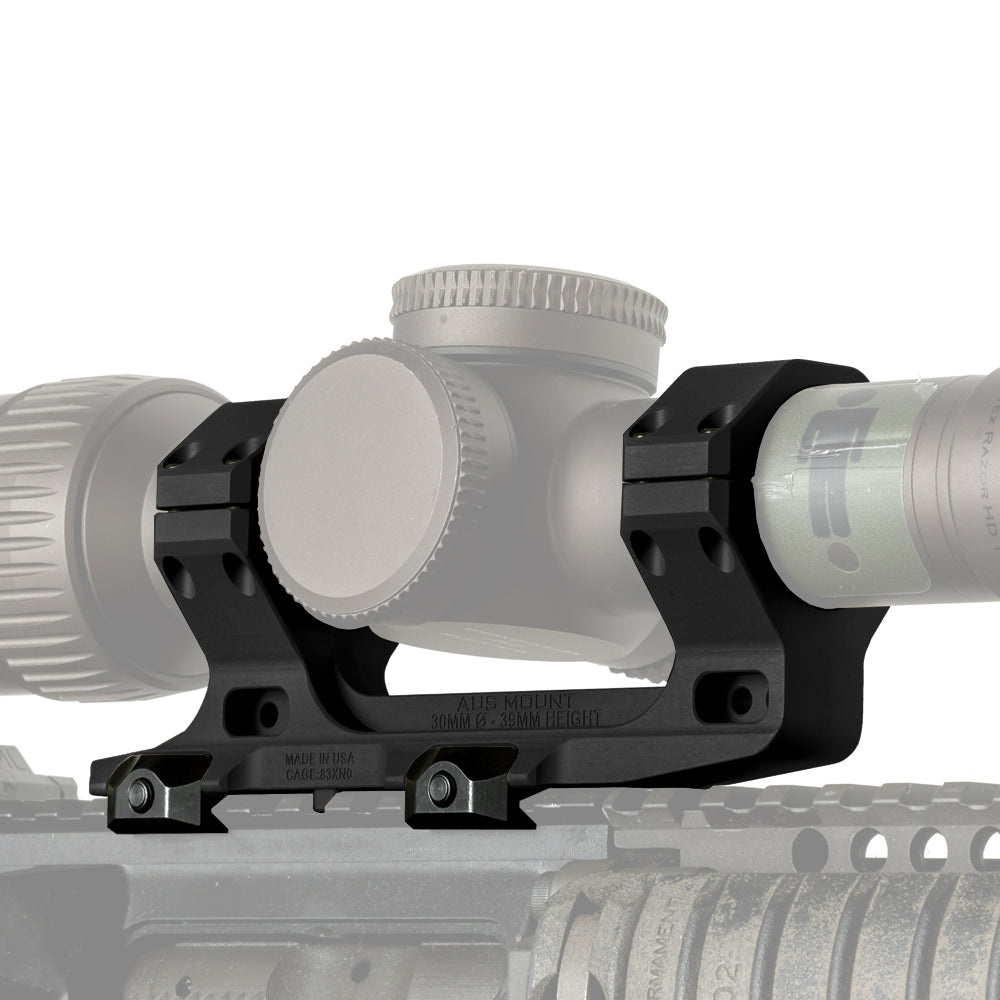
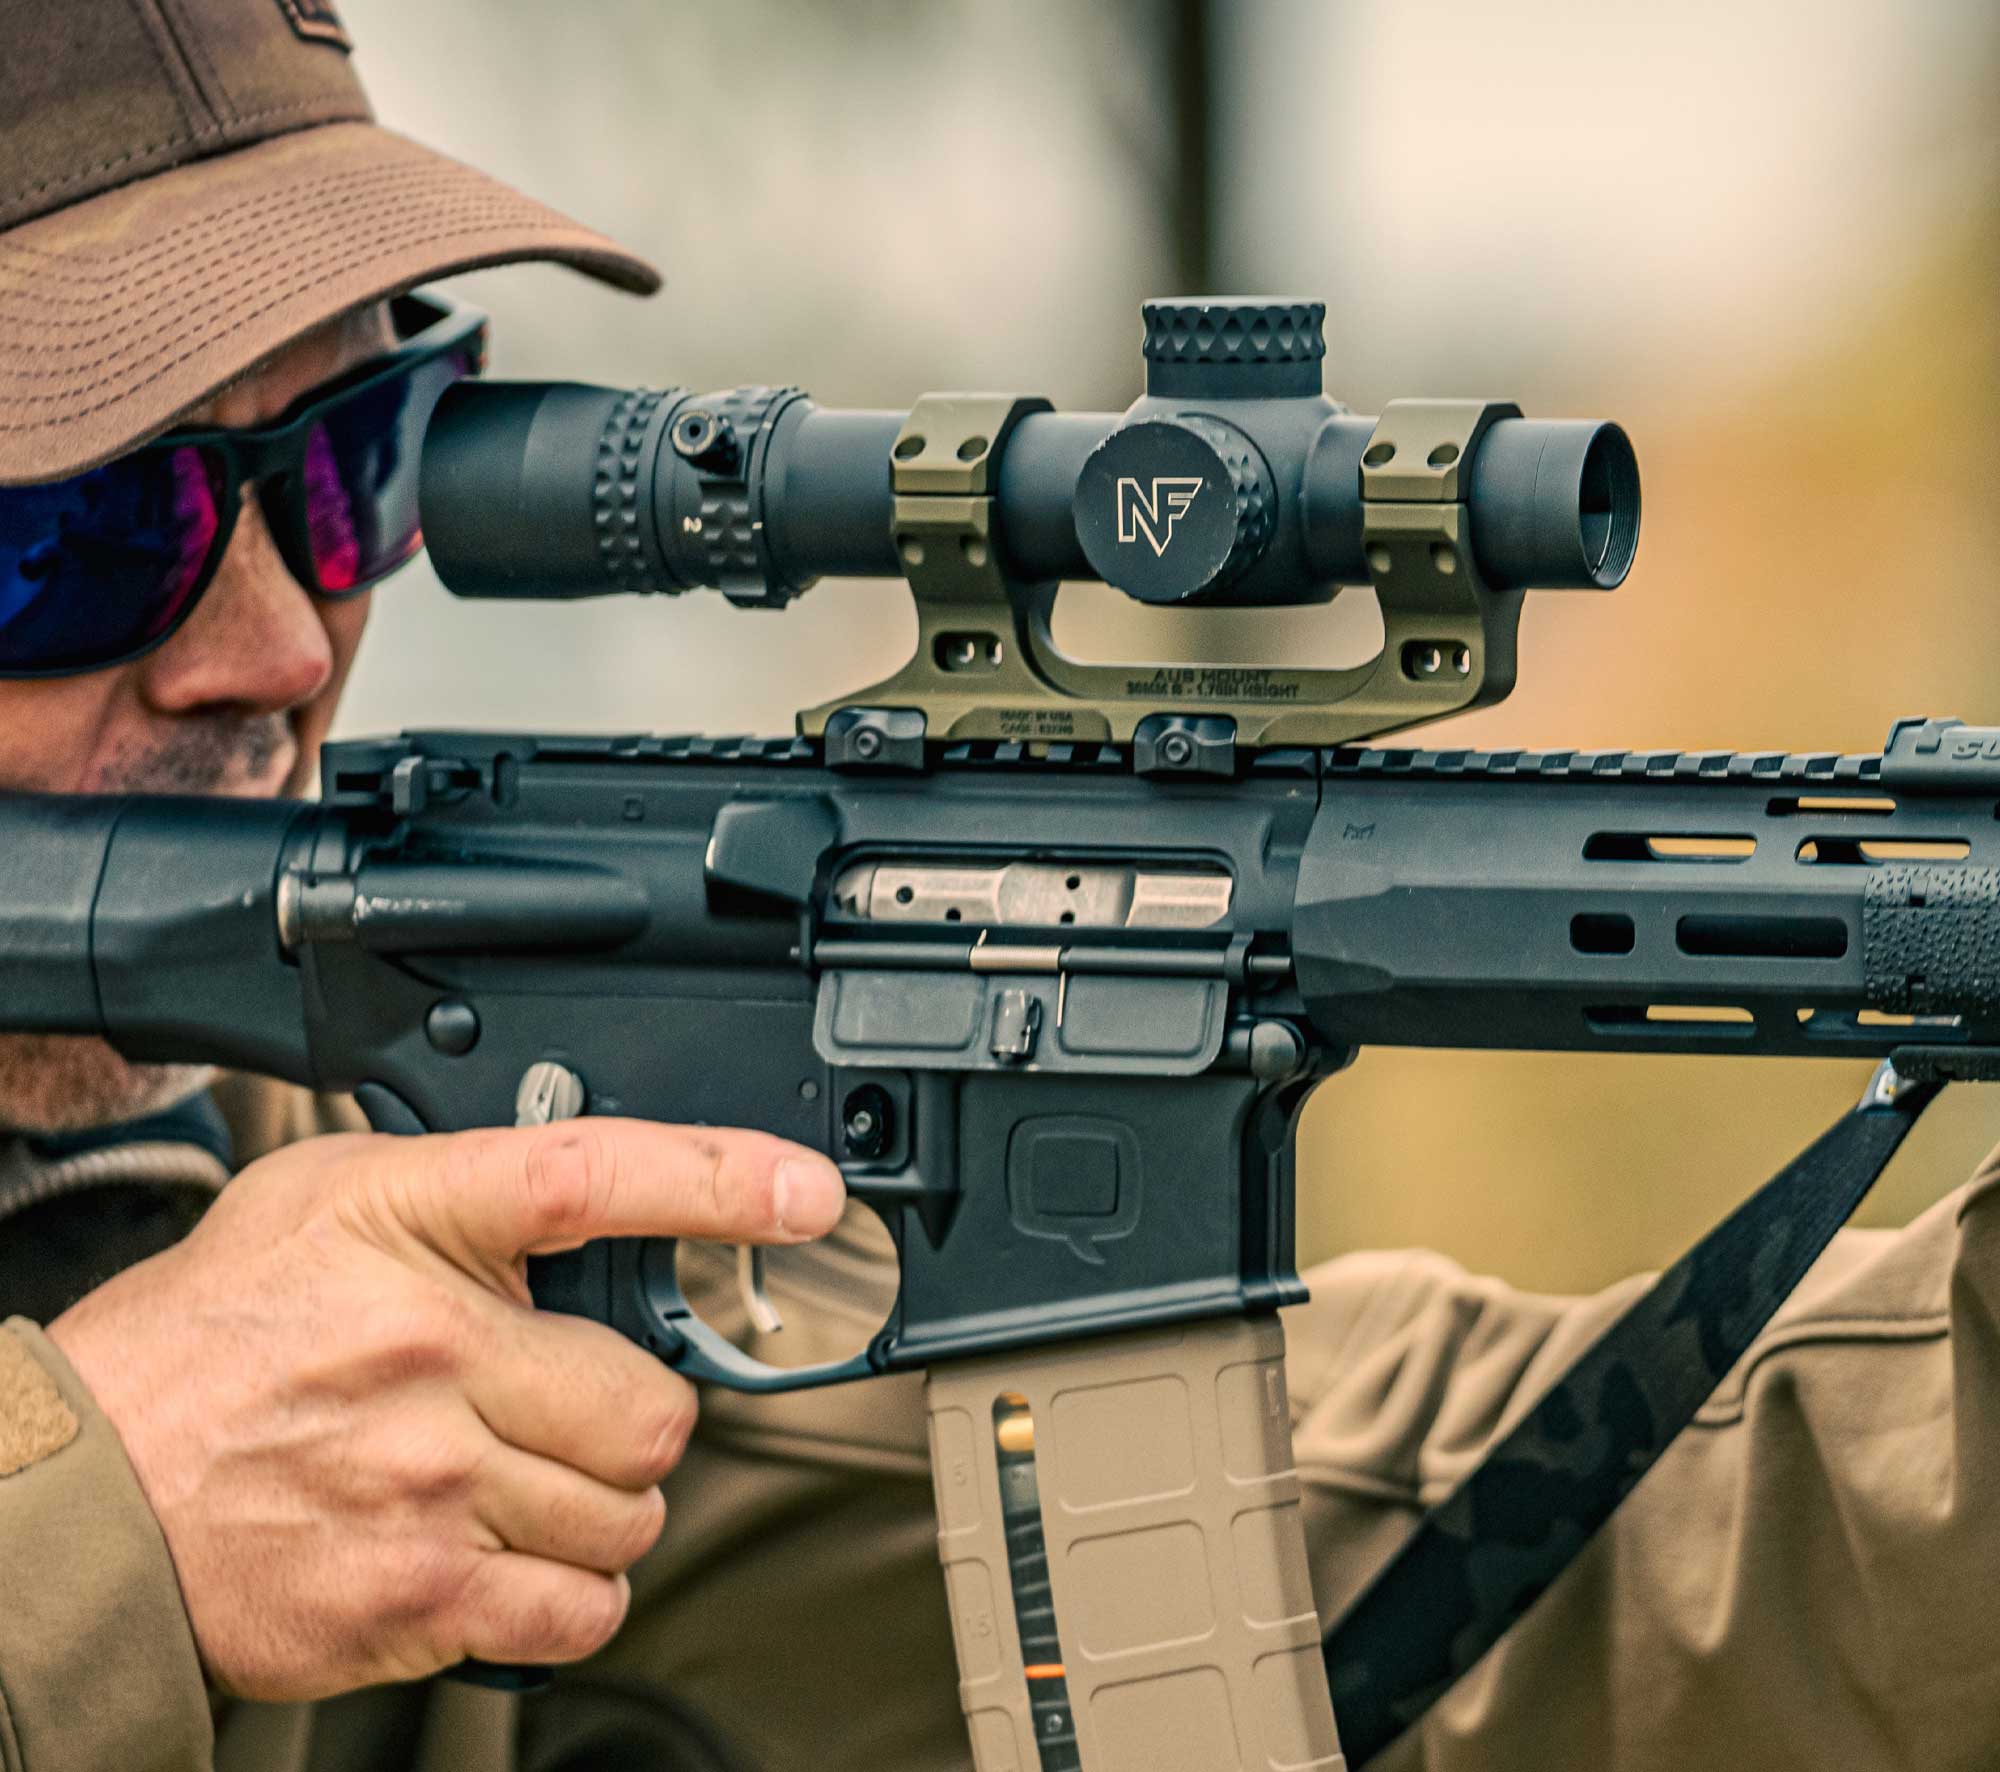
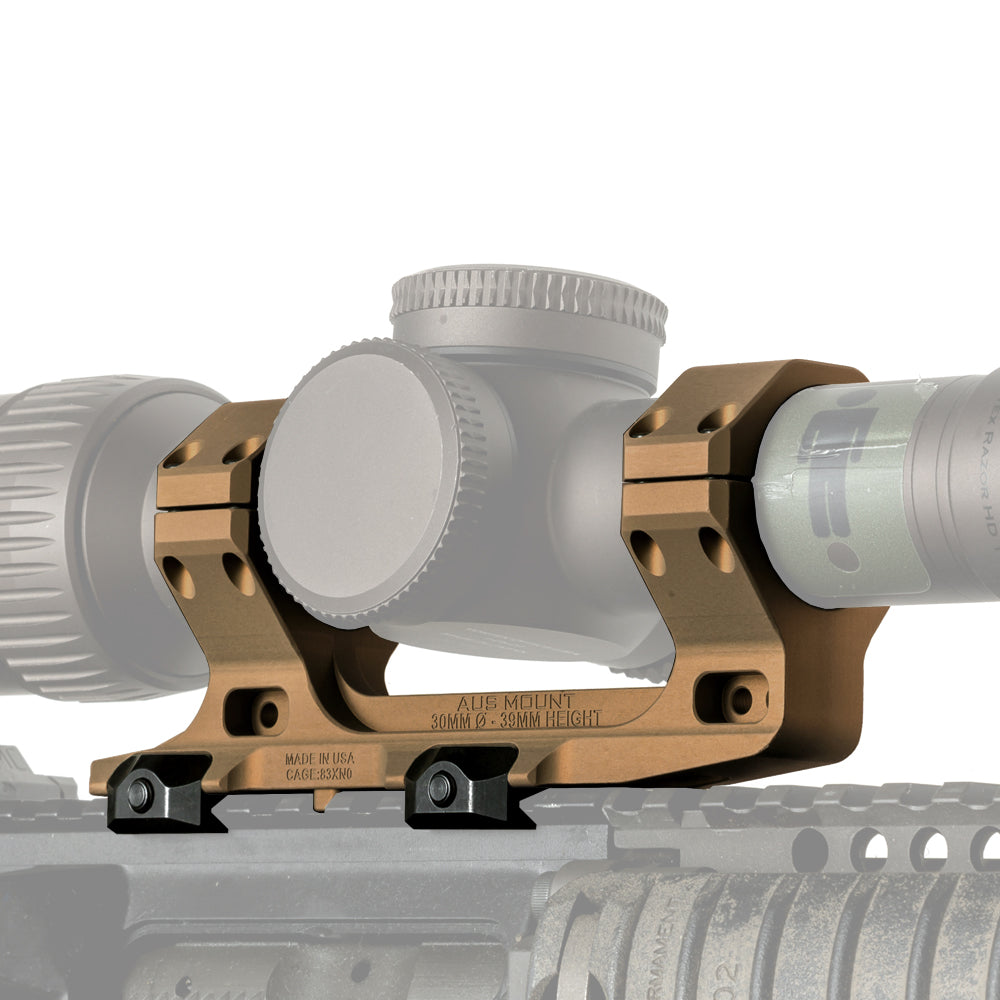
Here is a top-tier single-piece cantilever scope mount for your rifle! The Reptilia AUS Mount is especially suited for AR-type rifles, where the mount attaches to the upper receiver's fixed Picatinny rail – cantilevered forward to allow for your eye relief preference.
- Very light
- Sturdy construction
- Compatible with accessories
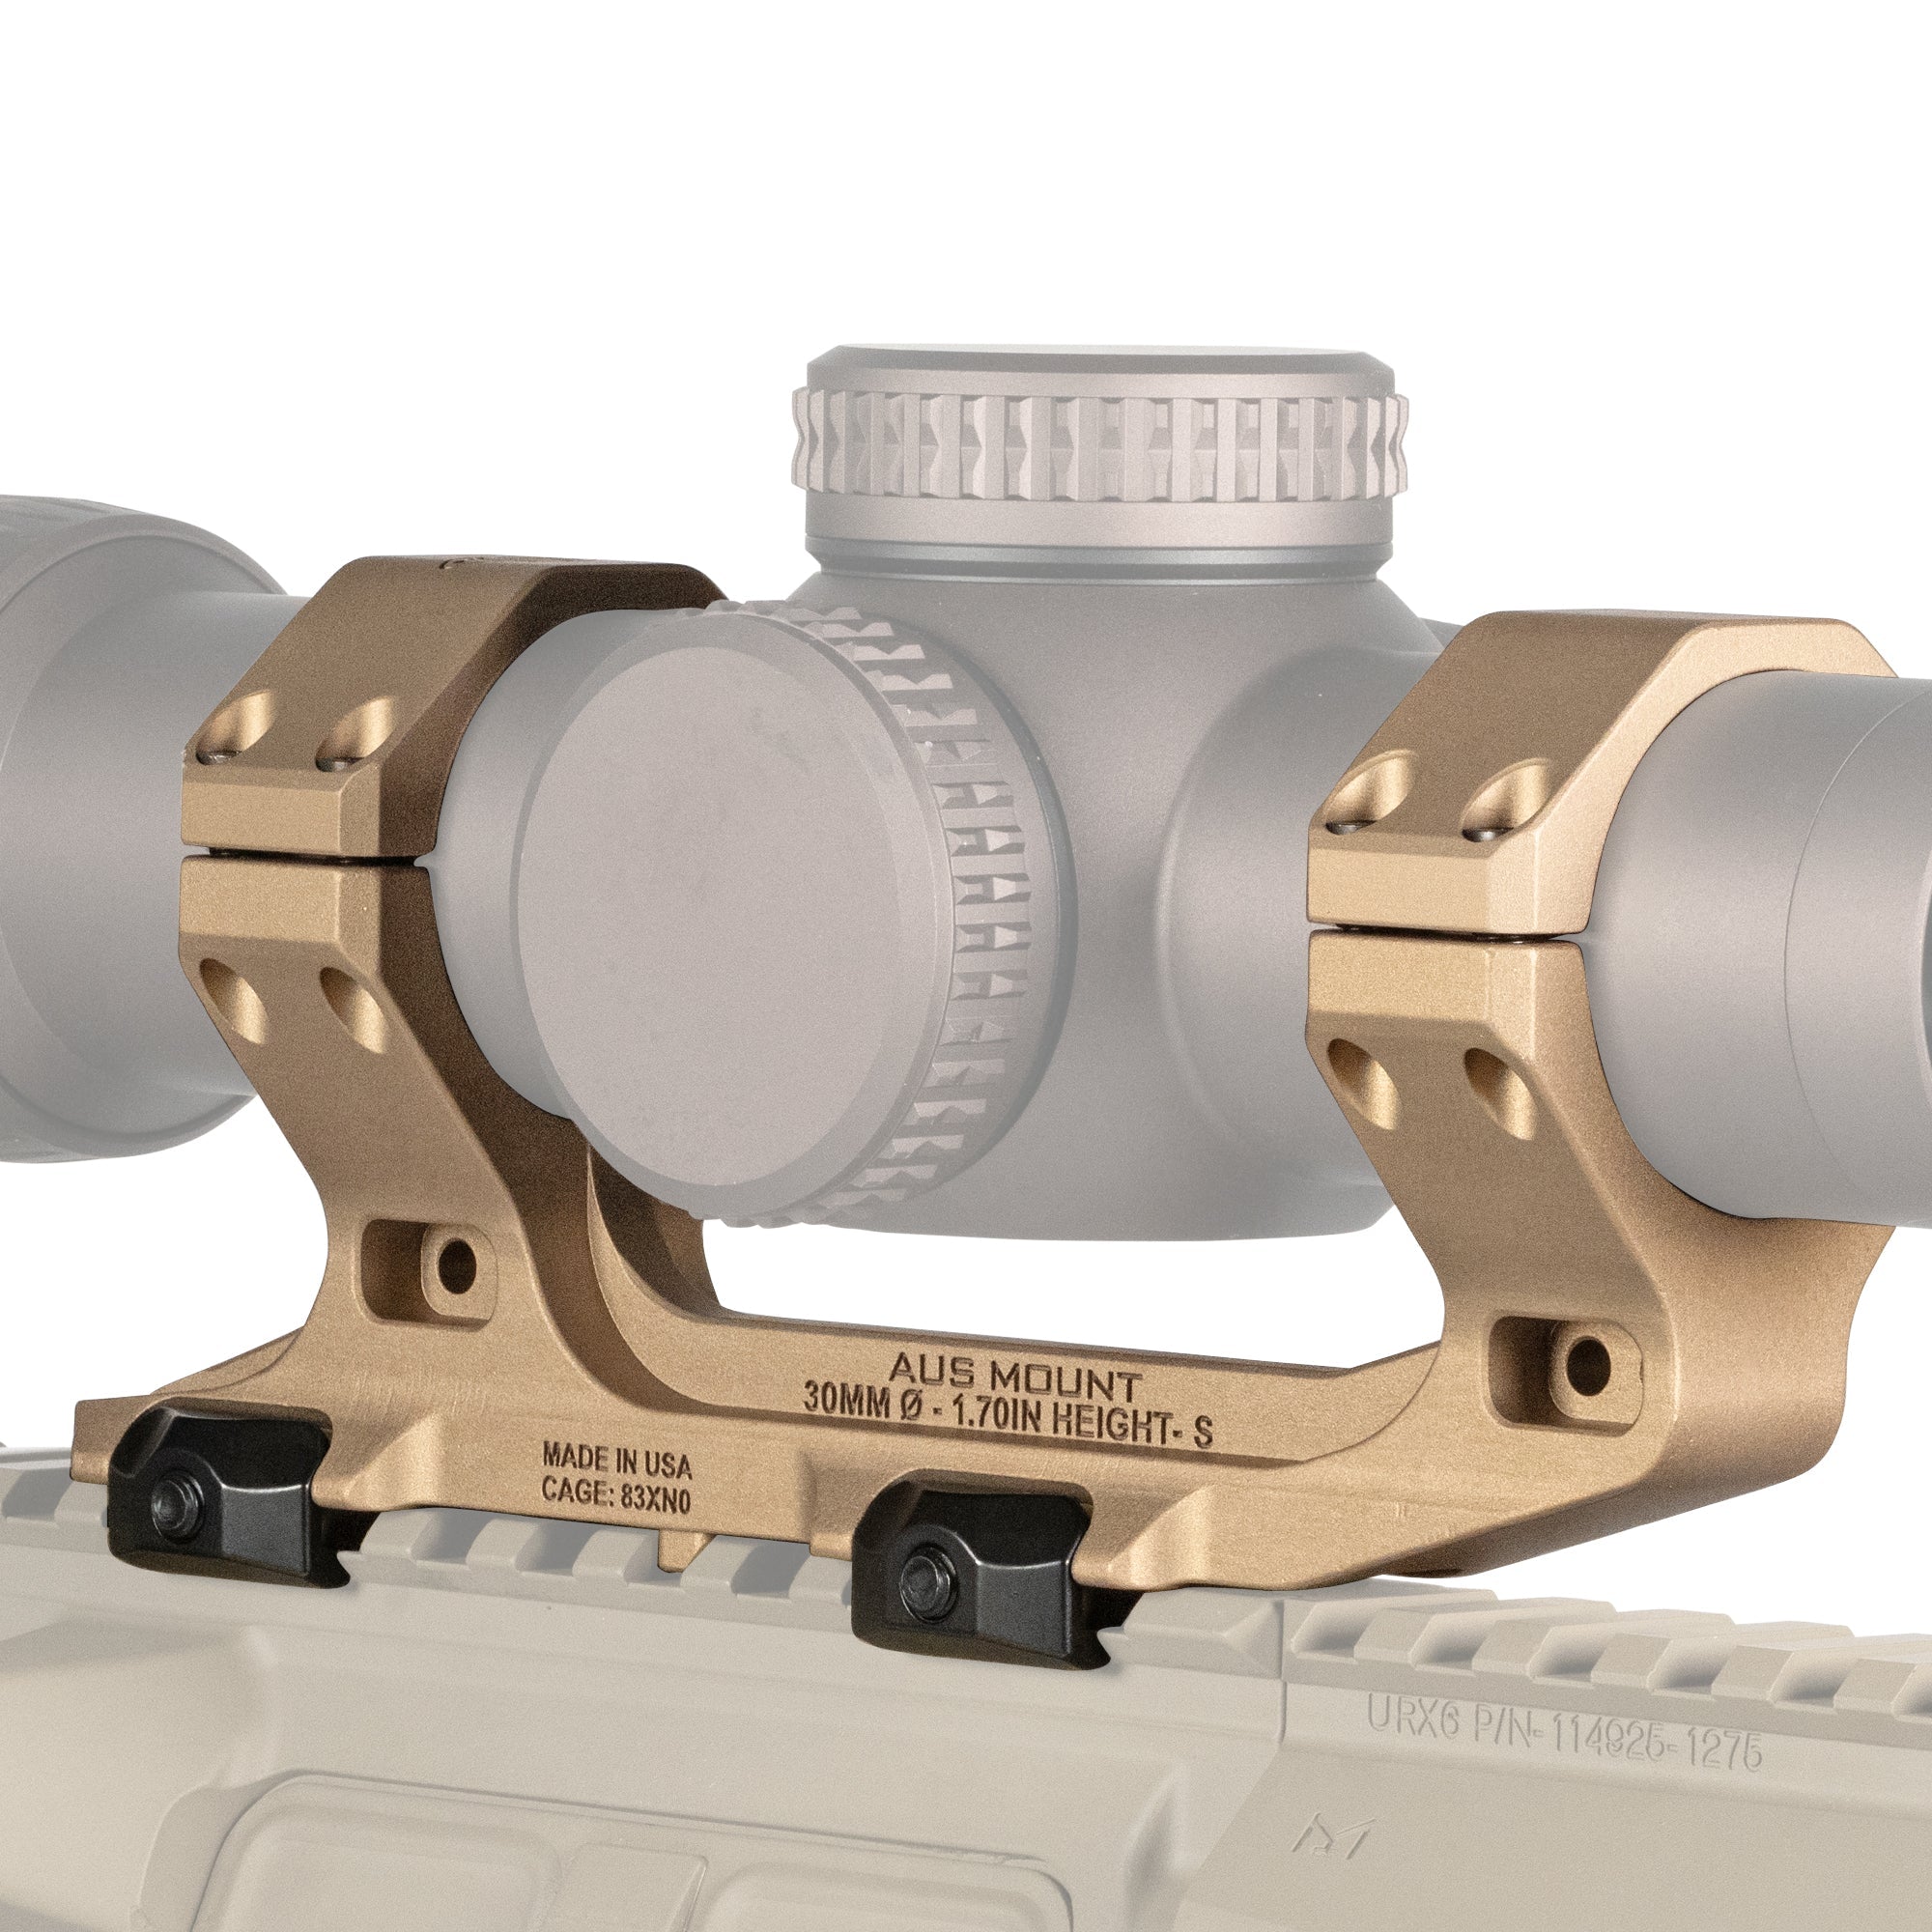
This mount fits a 30-millimeter scope tube. There are two scope sight heights to accommodate your preference: 39 mm / 1.54" and 43 mm / 1.7" from the center of the bore. It comes in two colors: black and FDE.
Features
The Reptilia AUS Mount attaches to the Picatinny rail with spring-loaded steel clamps. You can tighten the screws with either a T25 Torx tool or a flat blade screwdriver (we recommend a Torx tool) – remember to press the mount downward and forward while tightening to keep it firmly in place despite recoil. The scope rings have T15 Torx screws. The mount is machined from a single piece of 7075-T6 aluminum and finished with MIL-STD Type III Class 2 hard anodized coating.
- Machined from 7075-T6 aluminum
- MIL-STD Type III Class 2 hardcoat anodized
- Weighs 158 g / 5.2 oz.
- Fits scopes with a 30 mm tube
- Two scope sight heights
- Fits scopes with up to 77 mm objective over a flat-top Picatinny rail
- Made in the USA
If you need an auxiliary red dot sight on your scope mount, the Reptilia AUS Mount is compatible with all 30-millimeter Reptilia ROF mounts, such as the ROF-90 and ROF-45.
Like all Reptilia products, the AUS Mount is made in the USA and comes with a lifetime warranty against defects in workmanship or material.
Recommended Torque Specs
What's torque, you ask? In firearm installations, it's advisable to follow the torque values provided by the manufacturers – that is, how tight the screws should be fastened. So, get yourself a torque wrench with a range of about 0-70 in-lbs / 0-8 Nm! As engraved on the scope mount, tighten the mounting clamp screws to 45 in-lbs / 5.1 Nm and the scope ring screws to 15 in-lbs / 1.7 Nm.
Popular products from Other firearm accessories


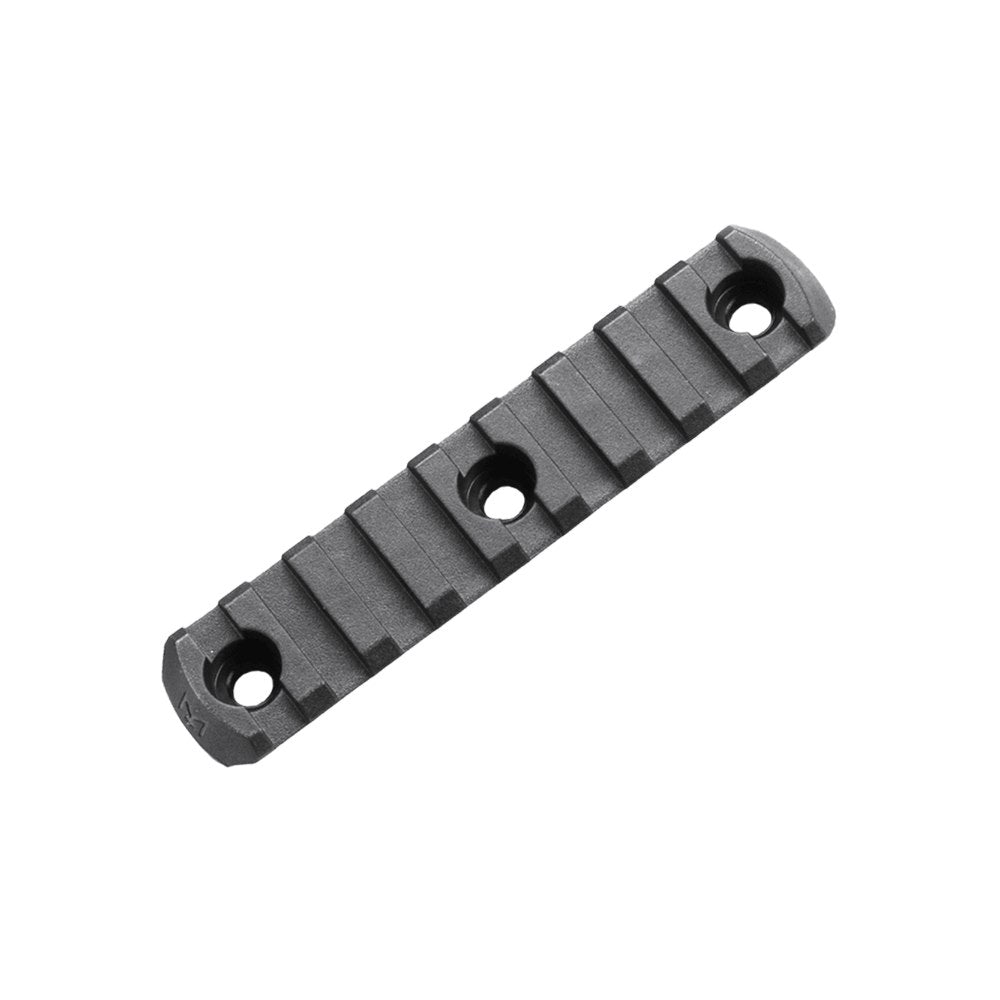
Magpul M-LOK Polymer Rail Section

YHM Rifle Barrel Shim Set

Magpul AK Cheek Riser

BCM BCMGUNFIGHTER KAG, Picatinny
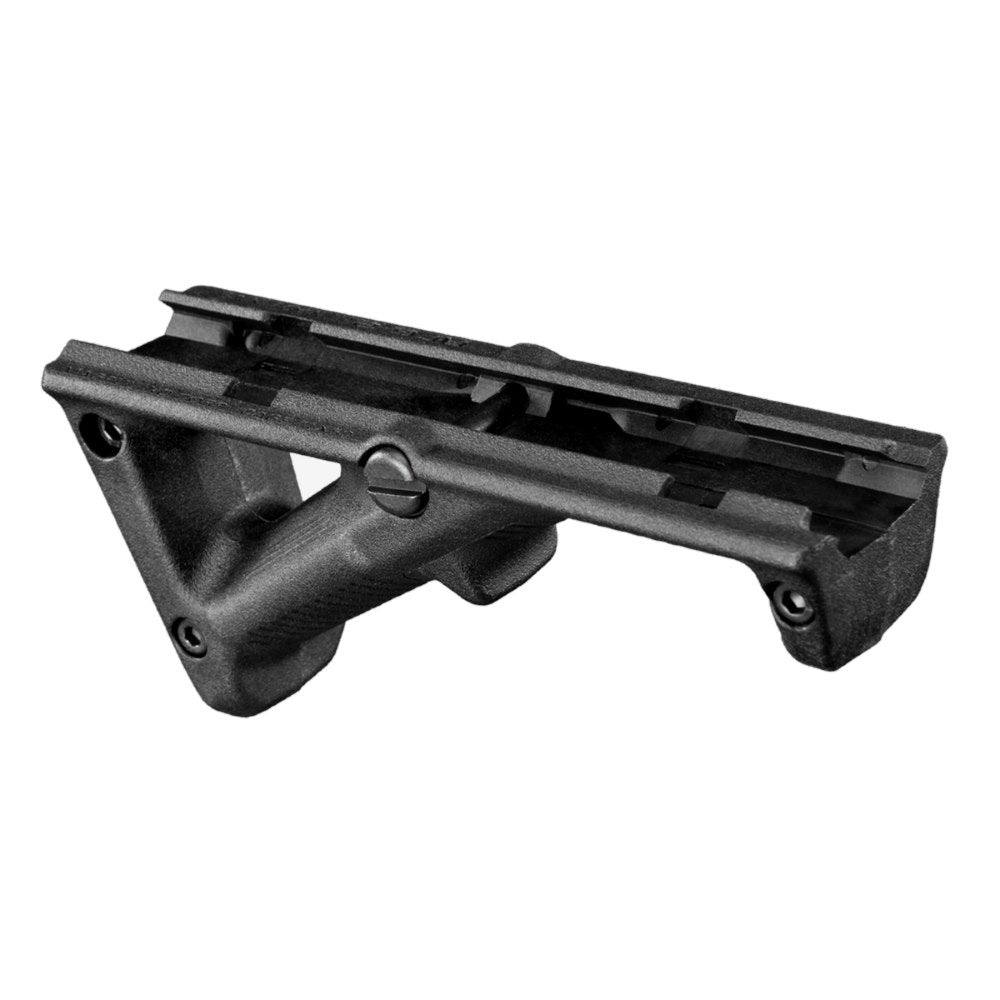
Magpul AFG-2 Angled Fore Grip, Picatinny
Magpul Sling Mount Kit (Recessed QD Sling Swivel Socket)

